
How to Create a Split Test (and Why) with Google Optimize
No matter what you’re promoting online, whether it’s products, services or platforms, conversion rate is one of the most important metrics you need to be watching. You can have the most engaging ad experiences in the world, but if your website experience is lacking, don’t expect to gain any new customers.
At Tuff, website conversion rate is always top of mind. It is an incredibly important part of the equation that determines if our efforts are profitable or not. It is a metric we’re always looking to improve through a tactic called Conversion Rate Optimization, or CRO. There are a couple of different ways to do CRO, with our favorite being landing page split testing.
There are a number of different tools out there that can help you get split tests set up and begin your CRO work, but our favorite is Google Optimize. It integrates well with Google Analytics, is easy to set up, and it’s free.
Why should you be split testing?
Before we jump into how you get set up with Google Optimize, let’s take a step back and ask ourselves why we should be split testing. Why is conversion rate so important? Let’s look at this hypothetical example:
Say you own an eCommerce business that sells running shoes. You’re using paid channels (Facebook ads, Google ads, etc.) to drive traffic to your site. These are the average metrics you see on a monthly basis:
| Visitors | 100,000 |
| Average Order Value | $95 |
| Conversion rate | 1% |
| Purchases | 1,000 |
| Revenue | $95,000 |
Congrats! You made $95,000 in revenue! On the flip side you’re making less than $1 per visitor on your site, which is not a great position to be in considering the average cost to get someone to click on an ad through paid channels. Now, for the sake of the example, let’s say that through CRO you’re able to increase your conversion rate to 1.8%. These are what your site numbers are going to look like.
| Visitors | 100,000 |
| Average Order Value | $95 |
| Conversion rate | 1.8% |
| Purchases | 1,800 |
| Revenue | $171,000 |
You just increased your revenue by $76,000 without increasing your site traffic at all. That’s the magic of CRO. So much focus gets put on cost per click, but we also need to be paying attention to what those clicks are doing once they get to your site.
While this article won’t detail out how to identify which tests to run, we do have some great CRO test examples you can start with in our article on Increasing Ecommerce Conversion Rate.
What you need to set up split testing with Google Optimize
The first thing you’ll need to start split testing on with Google Optimize is an account. Once that is done, you’ll need to take the following steps:
- Link your Analytics account
- Download the Optimize Chrome extension
- Install the Optimize code snippet on your site
- Set up your test in Google optimize
Install the Optimize Code snippet on your site and download the Chrome extension
There are a few different ways to do this, but the easiest way is to use Google Tag Manager since there is a baked-in integration between Tag Manager and Optimize.
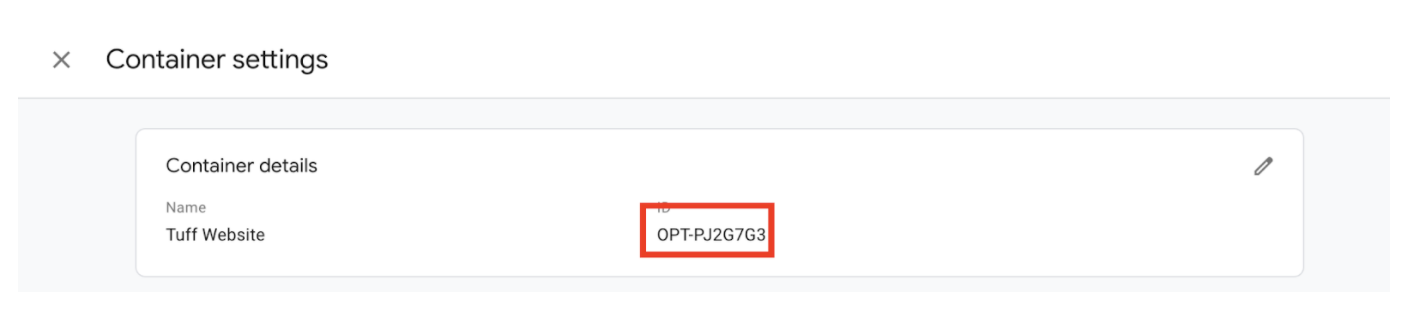
Click on settings inside your tag manager account and copy your Optimize container ID.
You’ll also see links here to link your Analytics account and download the Chrome extension. These will each only take a second, so knock them out before getting the code snippet installed on your site.
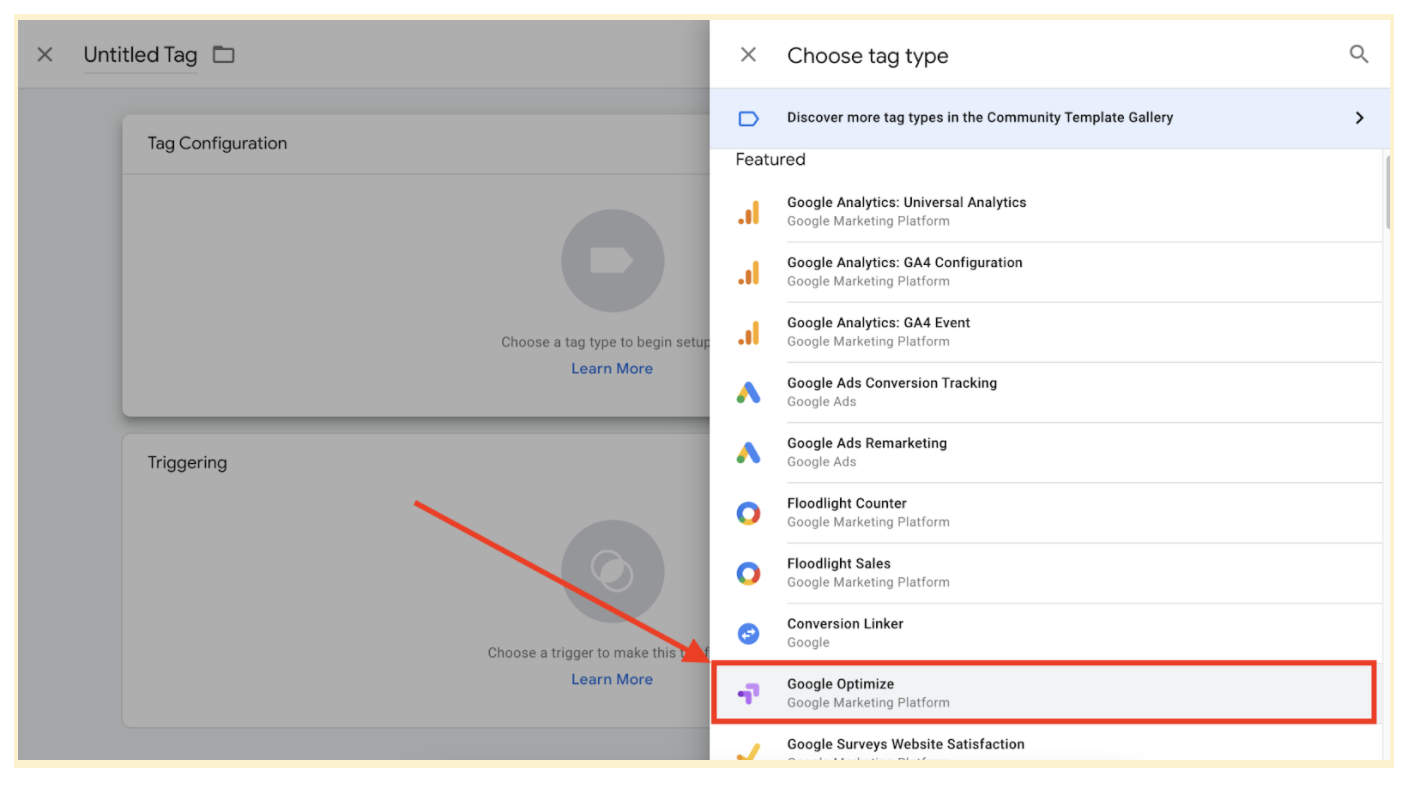
Copy your container ID, jump into your Tag Manager account and create a new Tag. From the options on the right, select Google Optimize as your tag type. Paste in your container ID and set the tag to trigger on all pages.
OK! We have the infrastructure in place to set up our test within Google Optimize. Now it’s time to decide what will be the “B” part of our A/B test. This will be which aspect of our page we are going to change. That can be anything from changing a headline, swapping out a graphic or reordering content on your site.
Whatever you decide on, try not to make too many changes at once. The best way to split test is incrementally so we really get a good idea of which changes are impacting the difference in performance we expect to see.
Setting up your split test
Ore we start setting up our test in Google Optimize, let’s review what we’ve done so far:
- Built our Google Optimize account
- Linked to our Optimize account to our analytics account
- Downloaded the Optimize Chrome extension and installed our Optimize code snippet on our website
- Identified our variable for testing
Once we have done all of these things, we are ready to configure our test within Google Optimize. Luckily for us, Google Optimize makes setting these tests up very straightforward.
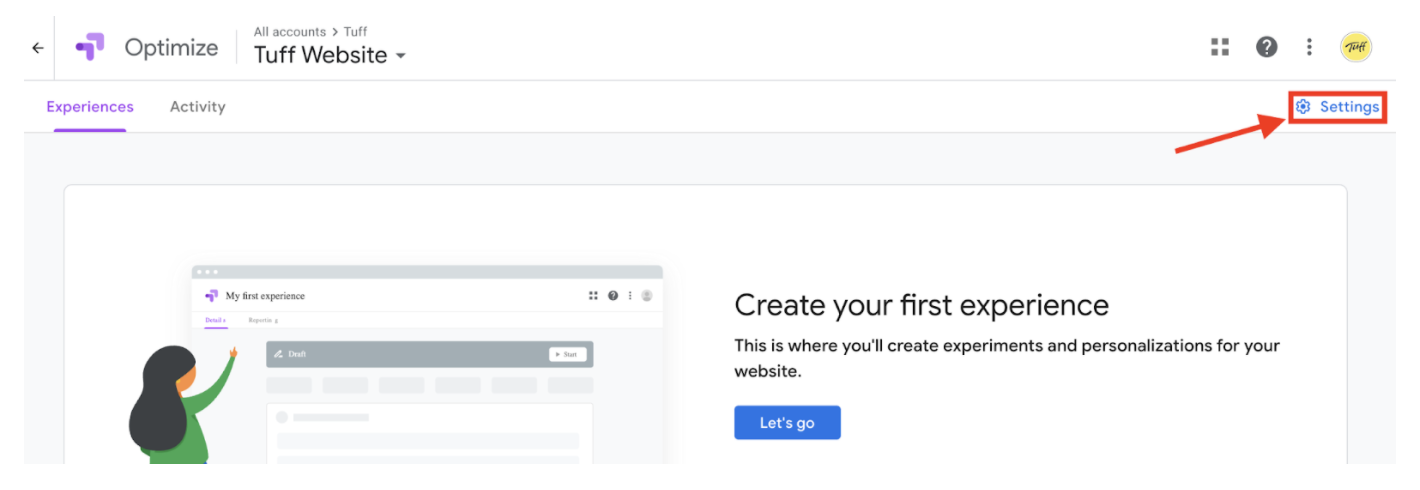
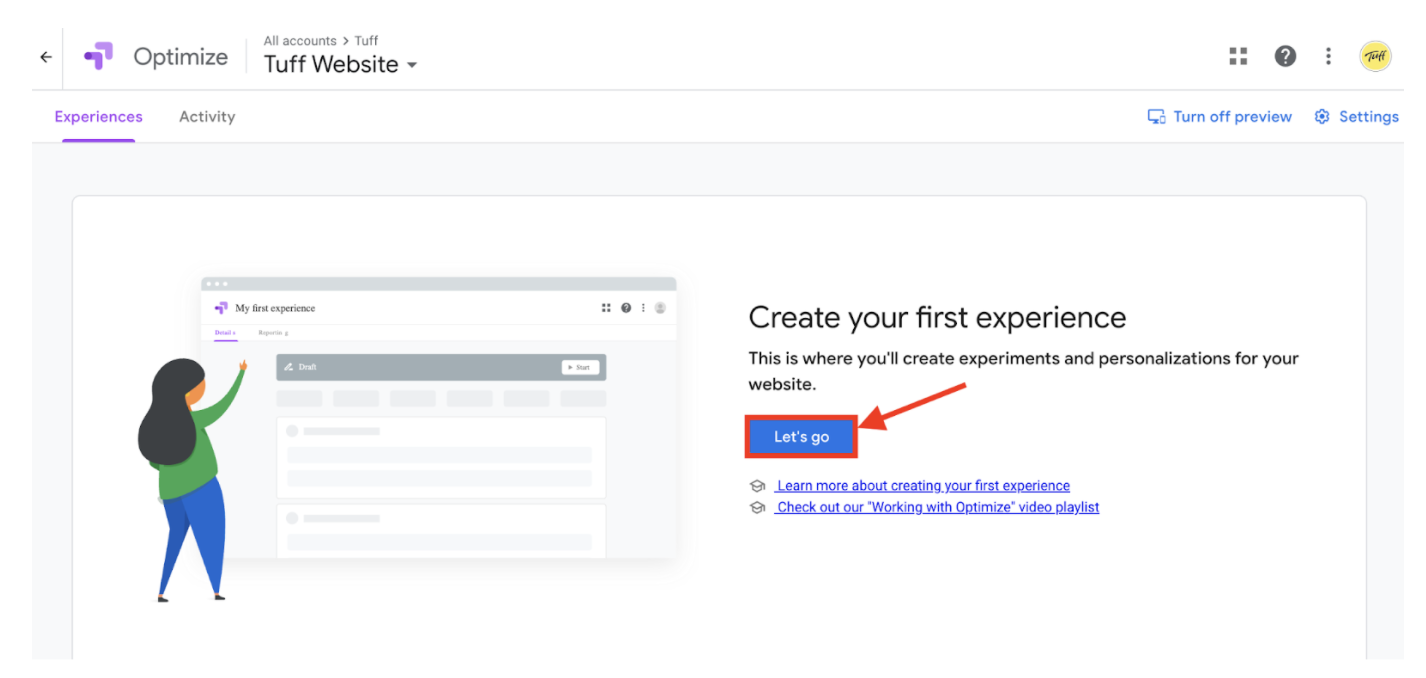
From inside your Google optimize container, you’ll click “Let’s go” to create your first experience.
There are a few different types of tests you can run here, but for the sake of this example, we’re going to select an A/B test. Give your test a name that easily calls out what is being tested. For our test, we’ll be changing the headline on our form submit page.

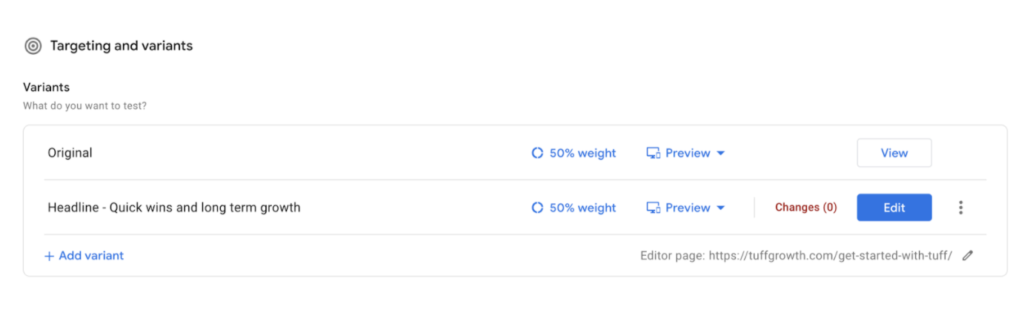
From here, click add a variant to begin setting up your first test. Select a name that lets you easily identify which changes are going to be made. We’re going to name our experience “Lead Magnet Page – Headline Test”. Any guesses what is going to be changed on our test page?
Now that we have our experience built, it’s time to add a variant. When naming this, give it a name that tells you what the change actually is. We’re going to name our variant “Headline – Quick wins and long term growth” so we don’t have to dig around to see what the change we made actually was.
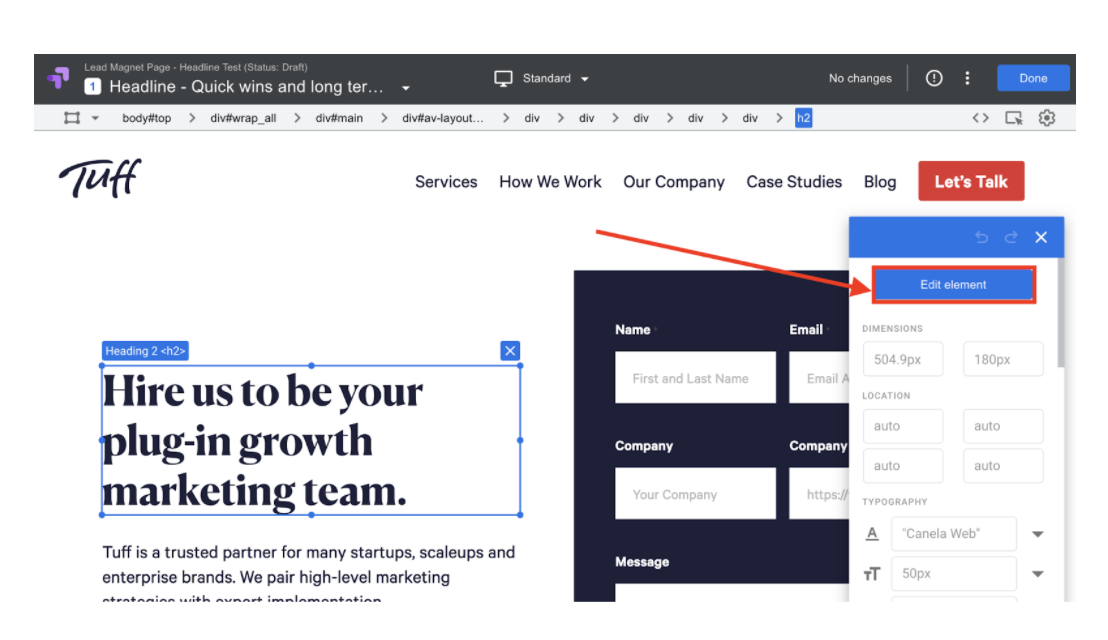
You will now see your original page and the variant you just created listed on top of each other. Since we installed the Chrome extension, we can easily edit our new variant and make changes to the page without using any code.
Once you Click edit, your original page will open with an editing tool where you can drag, drop, and edit different elements on your site. You’ll make your changes and then click save in the upper right-hand corner.
By default, your traffic will be split 50/50 between the original page and your new variant. You can shift more traffic to your new variant if you’d like quicker results, but we recommend keeping that split even. You can now select an objective which is a list of goals that gets automatically pulled in from Google Analytics. We’re going to select our form completed goal that we have already in Analytics. You’ll want to select whichever goal you’re looking for the user to complete on your site, whether that be a form fill, a purchase, or a different action.
And that’s that! We’re ready to begin our test. The last thing left to do is click the start button in the upper right hand corner!
Analyzing results
Google Optimize makes it incredibly easy to measure the results from your test. Once it’s launched, you’ll start to see data come in on session, conversion and conversion rate for your original page and your variant. Once significant data comes in, Google Optimize will give a prediction on which variant it thinks will win this test. We recommend waiting until that number is 95% before making any changes permanent and ending the experiment.
A/B testing is a crucial part of improving the performance of your acquisition channels. It can help make your organic traffic much more profitable and enhance the performance of your paid advertising without any additional ad spend. There are a number of different tools out there to help you get set up, but in our eyes Google Optimize is tough to beat. It lets you get tests set up quickly, integrates well with Analytics and Tag Manager and it has a very attractive price tag at $0.
Interested in learning more about how CRO can impact your bottom line? Get in touch!

Hi there! I’m Ethan, a Growth Marketer based in Steamboat Springs, Colorado. I have four years of digital agency experience under my belt creating and executing acquisition strategies for a number of different verticals across multiple channels. When I’m not at my desk, you can find me skiing, mountain biking, or chasing my dog around in the mountains.